How to season a chalkboard in 3 easy steps
You know when you leave chalk on a board, erase it, and the ghost of chalking past sticks around? We want to help you prevent that!
Seasoning your chalkboard is a vital step in preparing the board for fabulous chalk art. Think of it as priming a wall before you paint. It helps chalk go on smoother and protects your board. Our slates are high-end chalkboards made from resin coated metal, much like the heavy duty chalkboards seen in classrooms (not spraypainted like other boards). Therefore, our chalkboards are porous, meaning they have tiny dips and crevices that chalk can stick around in long after your chalk art has been erased. By seasoning your board prior to use you can prevent any of those lingering lines or marks. Luckily this is a quick process! So quick, it can be done in 3 easy steps.

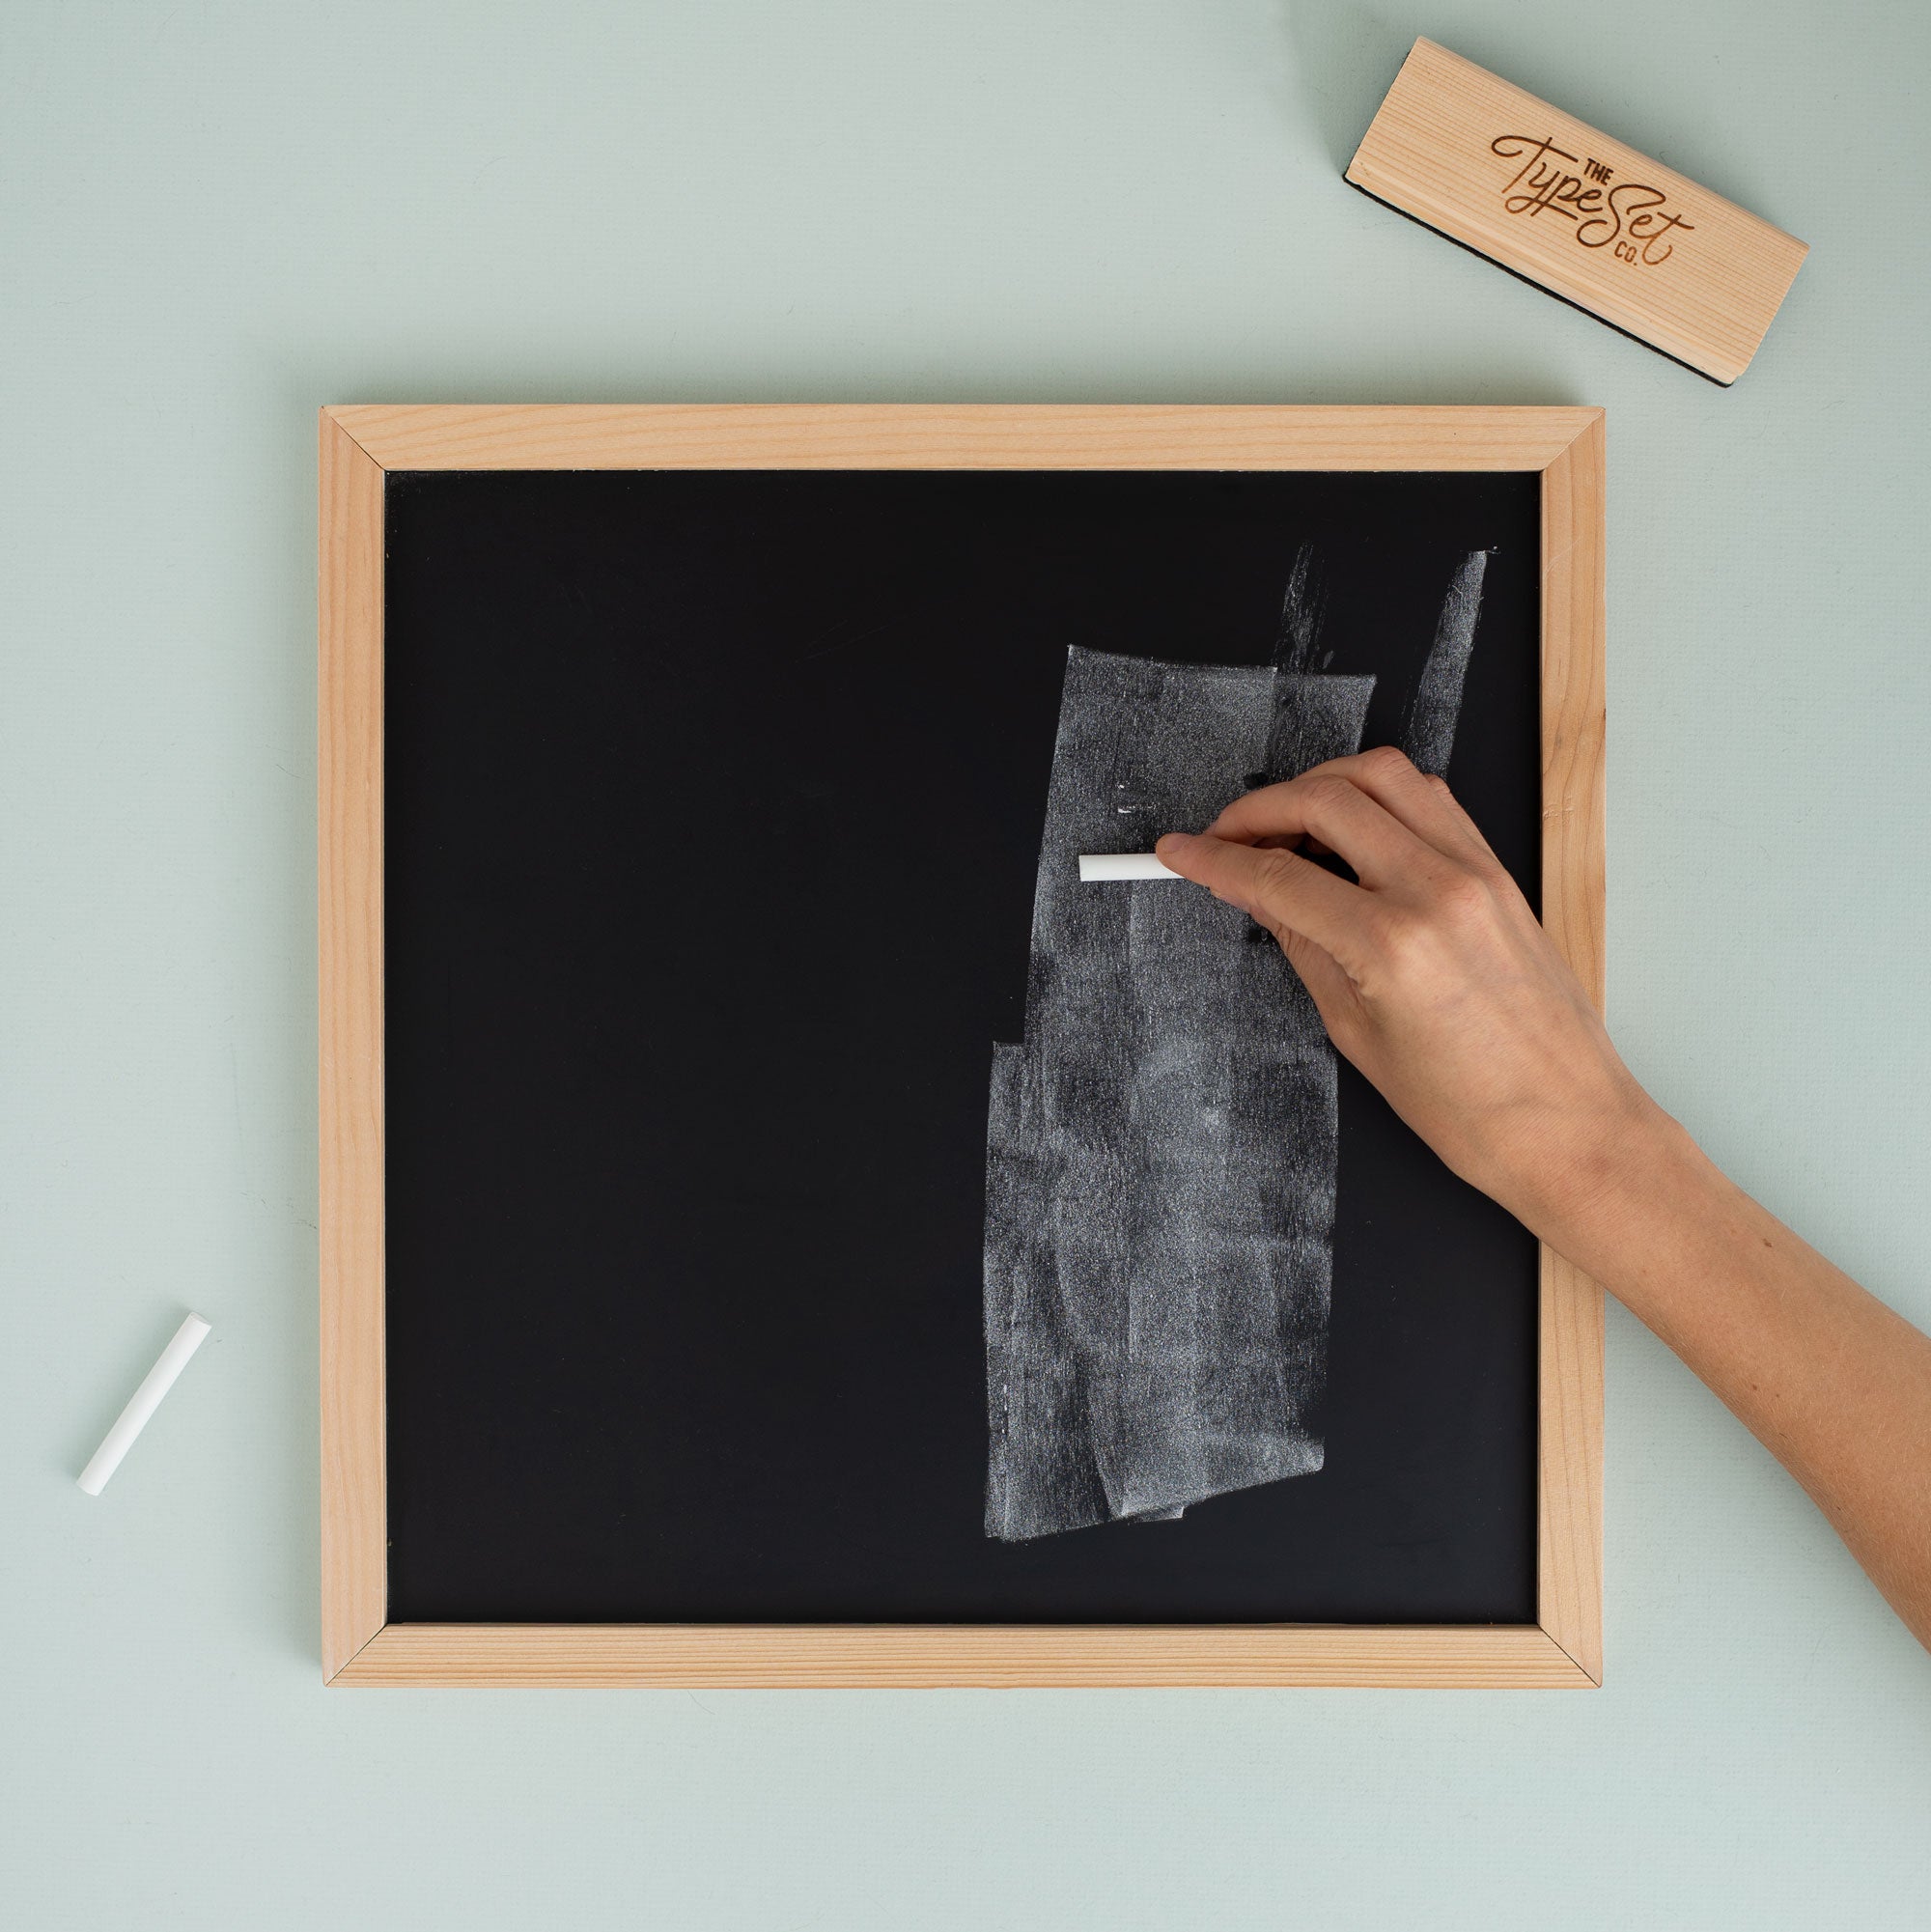
1) Take a piece of chalk on its side and swipe it across the board in an up and down motion covering the entire slate. (Do not use chalk markers or colored chalk when seasoning your board).
2) After you coat the board in a layer of chalk repeat this process, but this time in side to side motion.

3) Erase your chalkboard with a dry cloth or eraser and create your masterpieces.


Note: If you wet erase your board after seasoning you will reverse the priming process. Once your board has been seasoned we recommend using the dry cloth method to prevent needing to re-season your chalkboard. If this gray-ish tone isn’t your cup of tea and you prefer a dark black slate, simply wipe down your board with water or Windex for that clean, crisp look.
Explore more
Share this
Popular posts